Logo Chest Embroidery Digitizing: A Comprehensive Guide
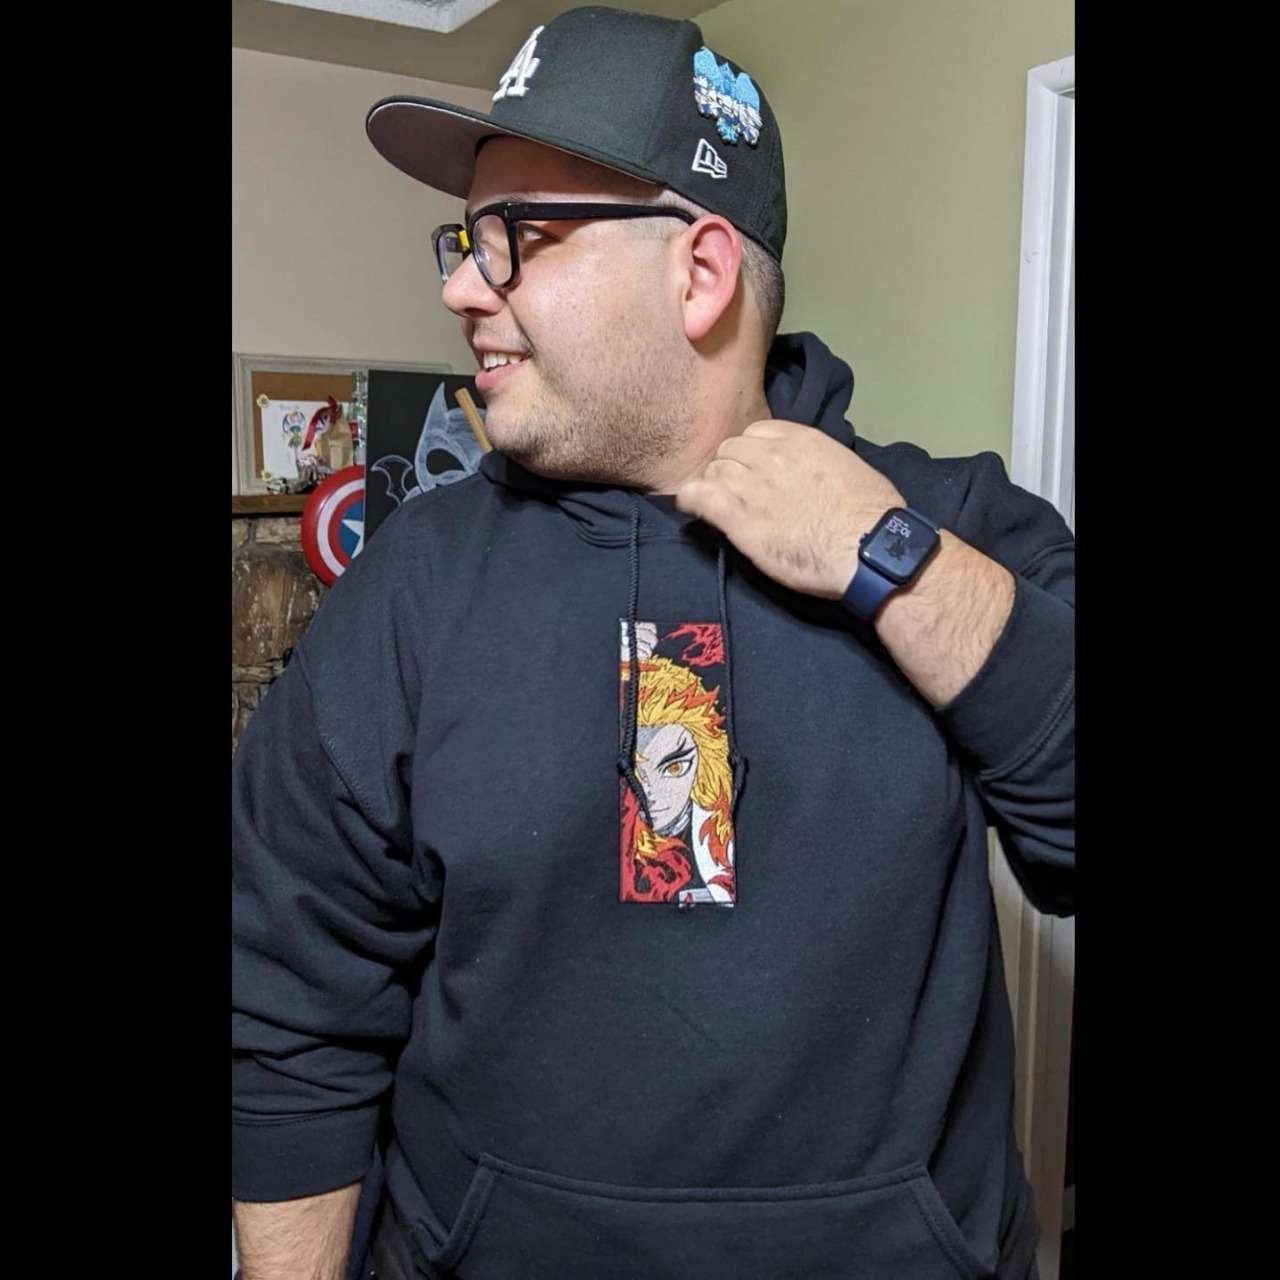
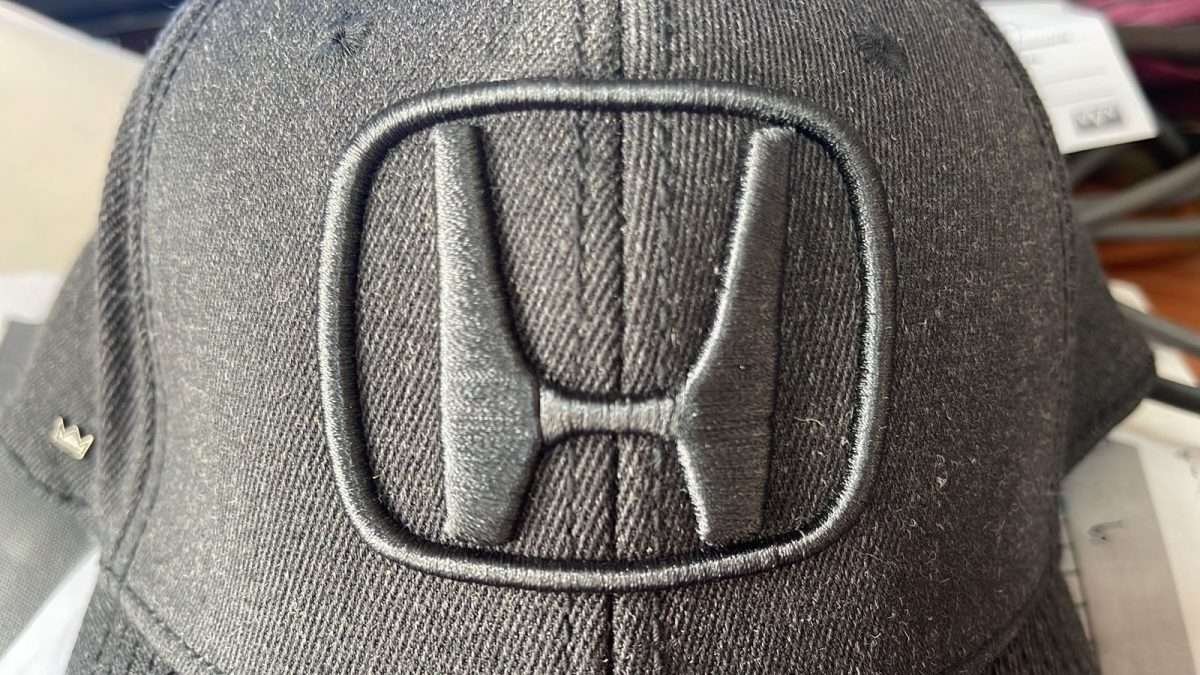
December 21, 2022SilyPuff embroidery, also known as 3D embroidery or raised embroidery, is a technique that adds a dimensional effect to traditional embroidery designs. It uses a unique foam backing material stitched onto the fabric, creating a raised or “puffed” effect. Puff Embroidery Digitizing adds a special touch to clothing and accessories like hats, jackets, and bags.
In this article, we will discuss the process of digitizing a design for puff embroidery, including the tools and techniques needed to create a professional-quality embroidered piece.
What is Embroidery Digitizing?
Before we dive into the specifics of puff embroidery digitizing, it’s essential to understand the concept of embroidery digitizing in general. Embroidery digitizing converts a design or artwork into a digital file that reads and embroidered by a computerized embroidery machine. This process involves using specialized software to create a stitch file, which loads onto the embroidery machine to guide it as it stitches the design onto the fabric.
There are a few different types of embroidery digitizing software available, each with its features and capabilities. Some popular options include Wilcom EmbroideryStudio, Embird, and Hatch Embroidery.
Tools and Materials Needed for Puff Embroidery Digitizing
To get started with puff embroidery digitizing, you’ll need the following tools and materials:
Embroidery Digitizing Software
As mentioned above, you’ll need a specialized software program to create your embroidery stitch file.
Puff Embroidery Backing Material
This foam backing material is what gives puff embroidery its distinctive raised effect. It comes in various thicknesses and colors, so you can choose the one that best fits your design and the fabric you’ll be embroidering.
Stabilizer
The stabilizer is a supporting material placed behind the fabric to help it hold its shape during embroidery. Different stabilizers are suitable for other fabrics and embroidery techniques, so choose the right one for your project.
Embroidery Machine
Of course, you’ll need an embroidery machine to stitch your design onto the fabric. A wide variety of embroidery machines are on the market, ranging from primary single-head devices to advanced multi-head systems.
Step-by-Step Guide to Puff Embroidery Digitizing
Now that you have all the necessary tools and materials, it’s time to start digitizing your design for puff embroidery. Here’s a step-by-step guide to the process:
Choose Your Design
Start by selecting a design or artwork you’d like to embroider using puff embroidery. This could be a simple logo or text or a more complex illustration or graphic.
Prepare Your Design
Before digitizing, ensure your design is formatted correctly and saved as a compatible file type (such as a JPEG or PNG). You may need to adjust the size or resolution of your design to fit your embroidery machine’s stitch area and capabilities.
Open Your Digitizing Software
Next, launch your embroidery digitizing software and create a new file. Import your design into the software and use the available tools to trace and digitize the design, creating a stitch file that will guide your embroidery machine as it stitches.
Adjust the Stitch Density
Puff embroidery requires a higher stitch density than regular embroidery, as the foam backing material adds additional thickness to the design. Set your stitch density appropriately in your digitizing software to ensure that the embroidery machine can quickly stitch through the foam backing and fabric.
Add the Foam Backing
Once your design is digitized and your stitch density sets, it’s time to add the foam backing material to your design. Use your digitizing software to create a second layer of stitches that will attach the foam backing to the fabric. Make sure to place the foam backing carefully, as it will be difficult to reposition once stitched.
Hoop the Fabric
Next, you’ll need to hoop the fabric you’ll be embroidering. This involves securing the material to a hoop or frame and holding it steady as the embroidery machine works. Be sure to use the appropriate type of Hoop for your fabric and device, and ensure the material is stretched tightly and evenly across the ring.
Load the Design onto the Embroidery Machine
Once your fabric is hooped and ready to go, it’s time to load your embroidery design onto the machine. Follow the instructions for your specific embroidery machine to load the stitch file and set up the device for embroidery.
Embroider the Design
With the machine set up and ready to go, it’s time to start embroidering your puff embroidery design. Follow the machine’s instructions to begin the embroidery process, and keep an eye on the device as it works to ensure everything goes smoothly.
Remove the Hoop and Trim Excess Threads:
Once the embroidery is complete, remove the Hoop from the machine and carefully cut away any excess threads. Be sure to handle the foam backing gently, as it damages easily.
Finish the Project
Finally, you can finish your puff embroidery project by adding any final touches, such as attaching them to a garment or accessory.
Tips for Successful Puff Embroidery Digitizing
Here are a few tips to help ensure success with your puff embroidery digitizing project:
Practice Makes Perfect
As with any new skill, it may take a bit of practice to get the hang of puff embroidery digitizing. Try different techniques and settings to see what works best for your designs.
Use the Right Equipment
Make sure you have the right tools and materials for the job. Using high-quality embroidery digitizing software and a good embroidery machine will go a long way toward ensuring a successful project.
Pay Attention to the Detail
Puff embroidery requires a high level of precision, so be sure to pay attention to details such as stitch density and placement of the foam backing.
Experiment with Different Designs
Puff embroidery is a versatile technique that can create a wide range of designs, from simple text and logos to intricate illustrations and graphics. Feel free to try out different ideas and see what works best for your projects.
Conclusion;
In conclusion, puff embroidery is a unique and eye-catching way to add a dimensional effect to your embroidery designs. By following the steps and tips outlined in this article, you can successfully digitize your designs for puff embroidery and create professional-quality embroidered pieces on your own. With a bit of practice and the right tools and materials, you’ll be well on your way to creating stunning puff embroidery projects.


