


A Step-by-Step Beginner Guide: What is Hatch Embroidery?

Left Chest Embroidery Digitizing: A Step-by-Step Guide
December 21, 2022
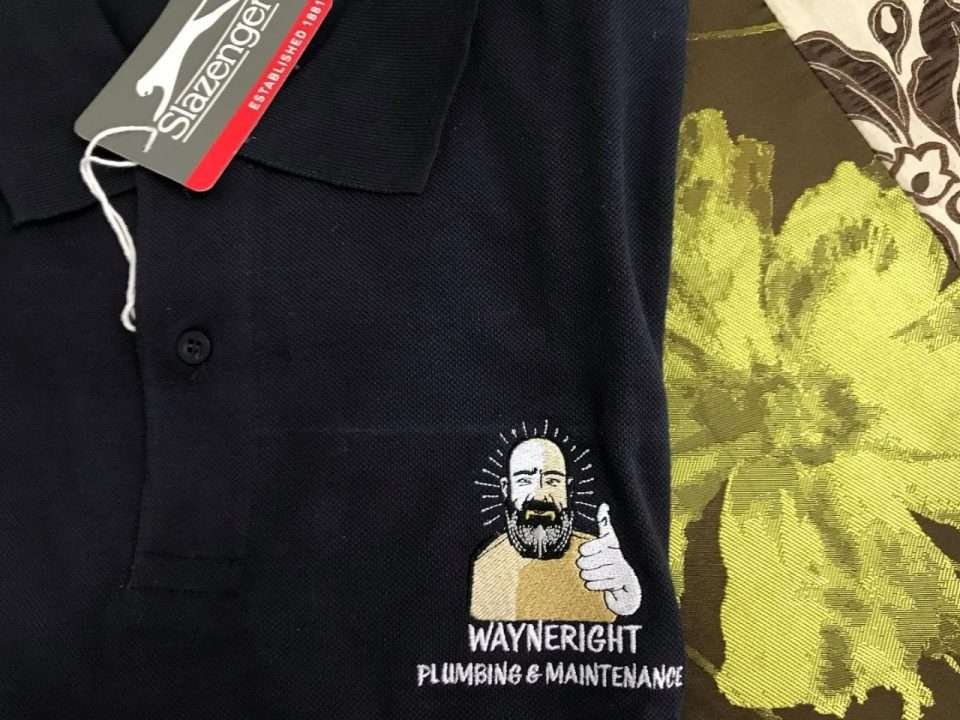
How to Deliver A Left Chest Embroidery Design Digitize in 2 hour
January 7, 2023
Embroidery is a popular way to add a personal touch to clothing, accessories, and home decor items. There are many different embroidery techniques, and hatch embroidery has gained popularity in recent years. If you’re new to embroidery or just curious about this particular method, here’s a step-by-step guide to help you understand what hatch embroidery is and how it’s done.
What is Hatch Embroidery?
Hatch embroidery, also known as thread painting or silk shading, is a technique that involves layering different colors of embroidery floss or thread to create a gradient effect. This technique often creates realistic, lifelike images in embroideries, such as flowers, animals, and landscapes.
Hatch embroidery uses a simple backstitch. This basic embroidery stitch involves making tiny stitches in a line, moving backward and forwards along the line to create a solid, even stitch. The backstitch uses to develop the image’s outline, and then the hatch embroidery is layered on top of the backstitch to add depth and shading to the idea.
Gather Your Materials
To get started with hatch embroidery, you’ll need a few basic supplies:
- Embroidery hoop: This round frame holds your fabric in place while you work. It’s helpful to have a ring slightly larger than the area you’re working on so you have plenty of space to move your hands and the embroidery needle.
- Embroidery needle: You’ll need a sharp embroidery needle with a large eye, so it’s easy to thread with embroidery floss.
- Embroidery floss: This is a type of thread specifically designed for embroidery. It comprises six strands of yarn that can be separated and used individually or combined to create different effects.
- Fabric: Choose a smooth material with a tight weave, such as linen or cotton. Avoid fabrics with a lot of texture or stretch, as they can be more challenging.
Transfer Your Design onto the Fabric
There are several ways to do this, such as using a transfer pencil, iron-on transfer paper, or a lightbox. Choose the best method and follow the instructions carefully to transfer your design onto the fabric.
Start with the Backstitch
Once your design transfers onto the fabric, begin by working the backstitch around the outline of the image. Use a single strand of embroidery floss and make tiny, even stitches, moving backward and forwards along the line as you go.
Add the Hatch Embroidery
Once the backstitch is complete, you can begin layering the hatch embroidery on top. Start by choosing the lightest color of embroidery floss and making tiny stitches in the area you want to shade. Then, switch to a slightly darker color and make more stitches in the same place, filling in the gaps between the first set of stitches. Repeat this process until you have achieved the desired level of shading.
Finish off Your Embroidery
When you’re happy with the shading, tie off the threads on the back of the fabric and snip any excess. If you’re framing your embroidery, you can use a piece of backing fabric to cover the back of the embroidery and give it a professional finish. If you’re using your embroidery for a project, such as a pillow or a bag, you can either leave it as is or attach it to your project using fabric glue or a sewing machine.
Hatch embroidery is a rewarding and satisfying craft that allows you to create beautiful, lifelike images using just a needle and thread. With a bit of practice and patience, you’ll be able to master this technique and create your stunning embroidery projects.
Extra Tips for Hatch Embroidery:
- Use a hoop to keep your fabric taut and your stitches even.
- Experiment with different weights and brands of embroidery floss to find the one that works best for you.
- Practice making smooth, even stitches before starting your project to get a feel for the technique.
- Take breaks to rest your hands and avoid fatigue.
- Don’t be afraid to try new techniques and styles to find what works best for you.
With these tips in mind, you’ll be well on your way to becoming a hatch embroidery pro. Happy embroidering!
